Setting Up an Apple ID in 2025: A Complete Guide
Contents
Essentials to Prepare Beforehand
Option 1: Standard Setup on iPhone or iPad
Option 2: Using a Mac or Online Browser

An Apple ID serves as your gateway to the entire Apple universe, enabling access to app downloads, iCloud storage, music streaming, and various subscriptions. If you're starting fresh without one, this guide breaks down the process into easy stages. It's straightforward, and I'll cover an option for those who prefer skipping the personal phone number link.
Essentials to Prepare Beforehand
Gather these items to ensure a smooth setup:
-
Reliable Wi-Fi or data connection to avoid interruptions mid-process.
-
A working email for login, recovery, and notifications.
-
A verification phone number (though optional with alternatives, details below).
-
Card info if desired, but it's not mandatory at the start.
Note: Regional rules might require a local number or payment setup, so check based on your location.
Option 1: Standard Setup on iPhone or iPad
For a new device activation:
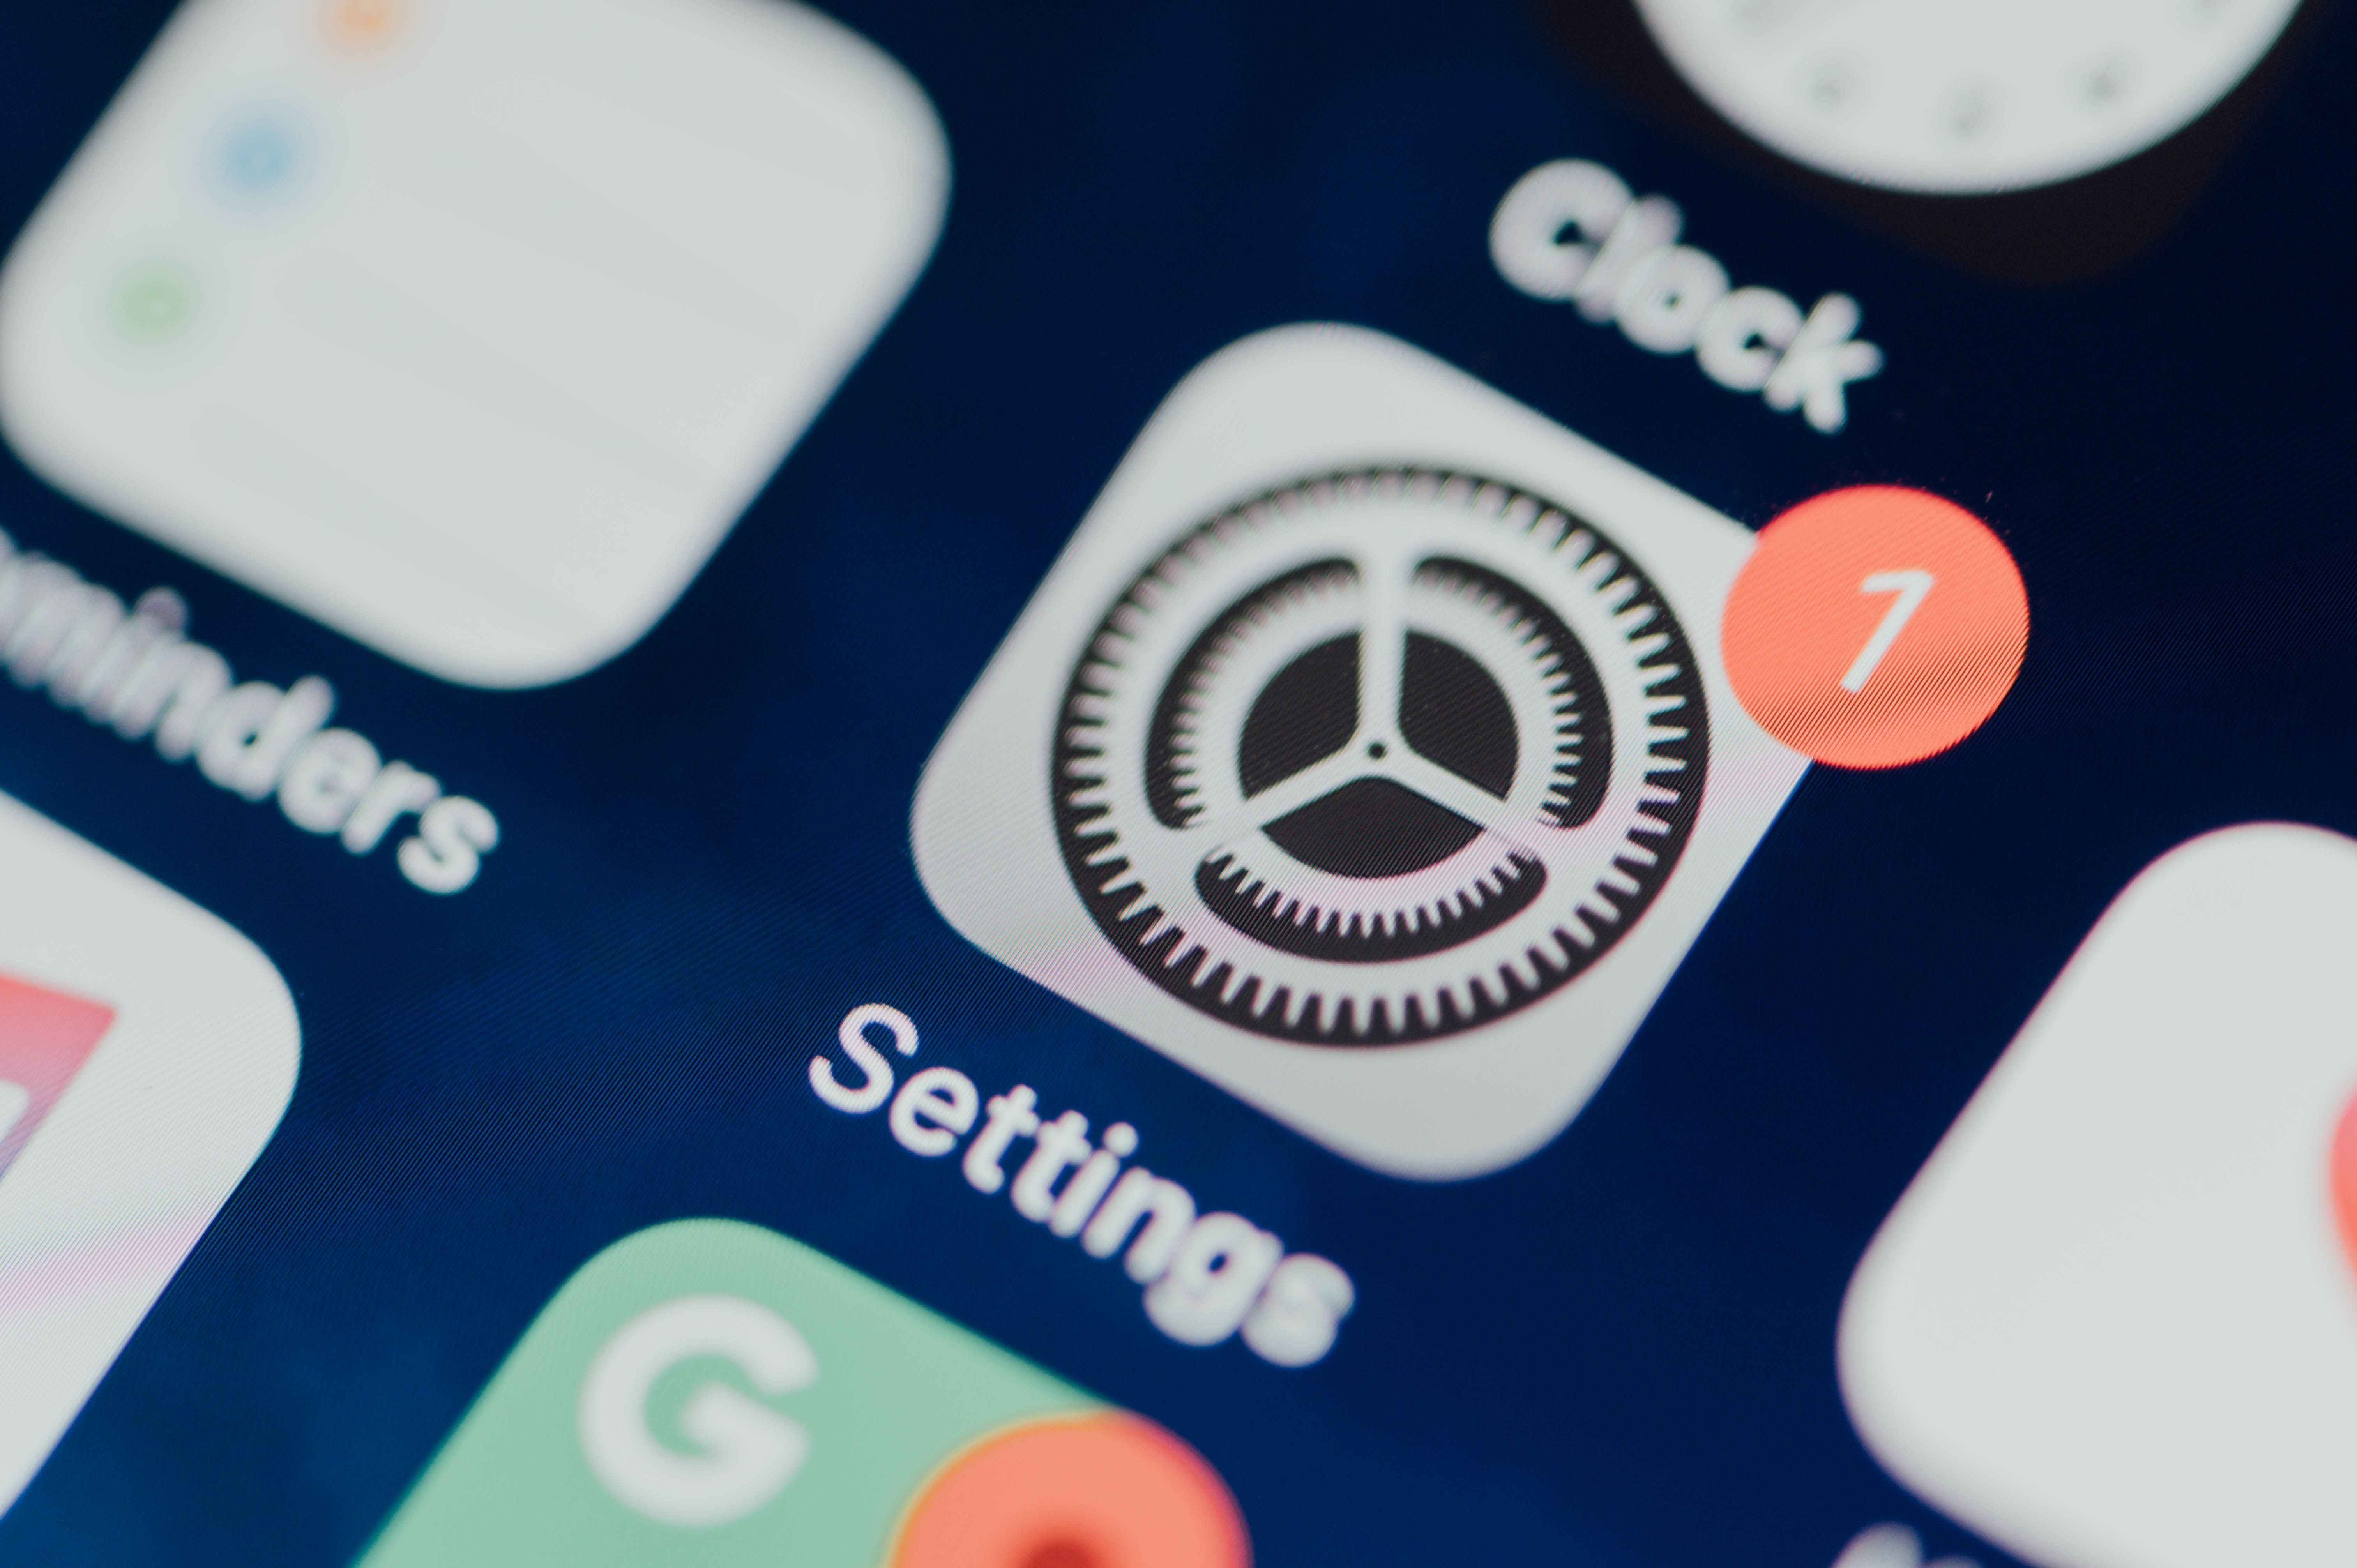
1. Open settings on your device and click «don't have an Apple ID»/
2. Enter your name and date of birth
3. Select your location, which influences store availability and billing.
4. Provide an email and phone for code-based confirmation.
5. Next, confirm your identity. To do this, you will need to enter codes (check the SMS and the code in the mail).
6. Set a secure password with mixed characters, numbers, and symbols (minimum 8 characters).
If your device is already in use, try these paths:
-
In the App Store, tap your icon and select the new ID creation prompt.
-
Or, in Settings, navigate to sign-in and follow the no-ID route.
Post-setup, dive into apps, iCloud syncing, and more. You can handle payments whenever you're ready.
Option 2: Using a Mac or Online Browser
On macOS:
1. Click the Apple logo, go to System Settings.
2. If unsigned, click to add an Apple ID.
3. Enter personal details and email.
4. Verify with the emailed code.
5. Craft your password.
6. Skip payment by selecting «None» or add it post-setup.
Via web:
1. Visit Apple's creation page.
2. Complete the form with basics.
3. Use email for verification (phone not always required).
4. Confirm via code.
Pro tip: Activate two-factor auth and device tracking immediately for enhanced security against loss or theft.
Option 3: Creating Without Linking Your Personal Phone
Privacy concerns? Skip tying your real number with this method using TIGER SMS.
1. Begin the standard Apple ID process on any platform.
2. At the phone number prompt, open TIGER SMS in another tab or app.
3. Sign up and fund a minimal amount.
4. Choose a region (e.g., USA or Britain) and pick Apple as the service.
5. Grab the provided virtual number.
6. Insert it into Apple's field.
7. Check TIGER SMS for the incoming code.
8. Input it to finalize, no personal number attached.
Key Advice for Success
In restricted areas, virtual numbers offer a solid alternative. Prioritize enabling device location and multi-step verification for protection.
No payment method? Register freely and update later via gift cards or standard options. If issues arise, reach out to Apple support for quick resolutions.
Conclusion
In summary, whether opting for Apple's direct approach or the discreet virtual route, establishing an Apple ID in 2025 remains user-friendly with these instructions.

